How to Add a Rotate Your Phone Animation to Your Video
Updated 3 min read
A rotate your phone animation is a short prompt at the start of a landscape video. It tells people watching on a phone to turn their screen sideways before the video begins.
The quickest way to add one is to drop a finished overlay on your timeline. Here's how, plus how to change the words and which sound to put under it.
1. Drop an overlay into your timeline
These overlays are transparent .mov files, so there is nothing to key out.
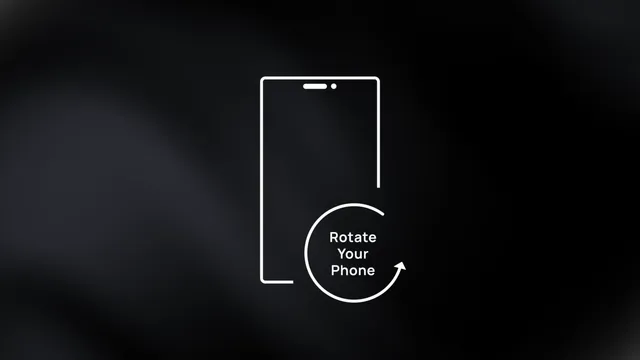
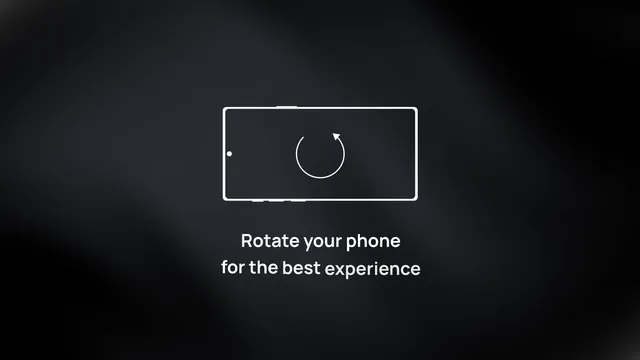
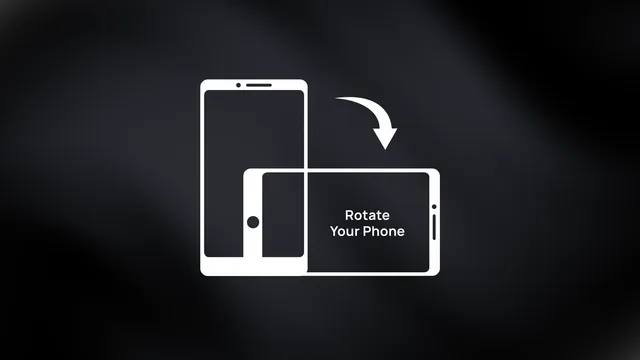
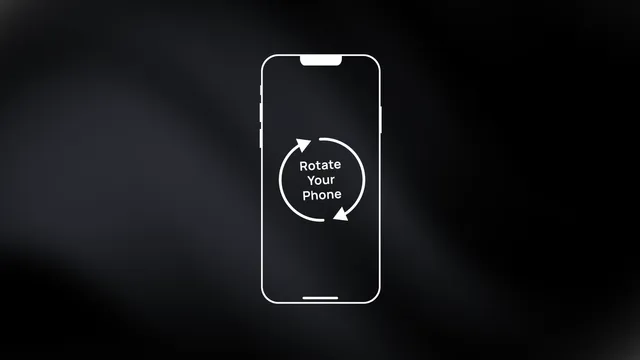
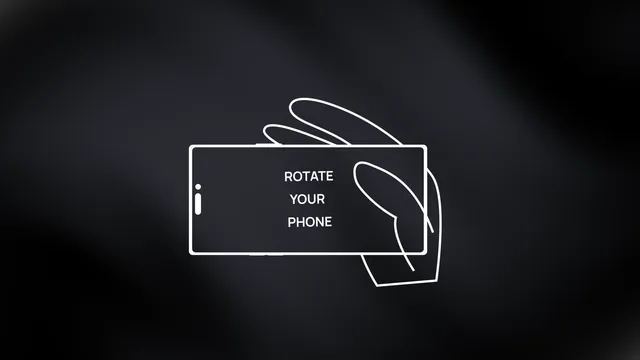
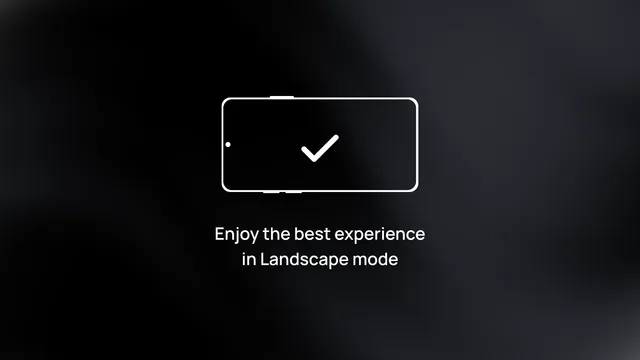
- Download an overlay and import it into your editor.
- Put it on the track above your footage and move it to the very start.
- Keep it 2 or 3 seconds.
In DaVinci Resolve, if the background turns black, right-click the clip in the Media Pool, open Clip Attributes and set Alpha Mode to Premultiplied.
2. Want your own text or color? Use a template
Overlays are finished videos, so their words and colors are fixed. Templates are editable: rewrite the words, switch to your own language, and change the font, the colors and the phone style.
There are templates for After Effects, Premiere Pro and DaVinci Resolve.
- Download a template for your editor.
- Import it straight into your timeline, above your footage at the very start.
- Edit it right there with simple controls: the words, the language, the font and the colors.
The white Rotate Your Phone template is free with an account.


3. Add a sound effect
A sound makes people look up before your video starts. Use a whoosh as the phone turns, a pop as the words appear, or a tap when it lands. Keep it a little quieter than your music.
Try one of these:
Find more in whooshes, notifications and bells and interface clicks.
Make it yourself
All you need is a phone icon and the words "Rotate your phone".
| After Effects | Premiere Pro | DaVinci Resolve |
|---|---|---|
| 1. Go to File > Import and pick a phone vector icon (SVG works in After Effects 2026 and newer). Drag it into your composition and add the words with the Type tool. | 1. Premiere Pro can't import SVG, so use a PNG phone icon with a transparent background. Go to File > Import, drag it onto your timeline, and add the words with the Type tool. | 1. The Media Pool doesn't take SVG, so use a PNG phone icon with a transparent background. Drag it into the Media Pool, then onto your timeline, and add the words with a Text+ title on the track above. |
| 2. Select the phone layer, press Ctrl+Alt+Home (Mac: Cmd+Option+Home) to center its anchor point, then press R for Rotation. | 2. Select the phone clip and open Effect Controls > Motion > Rotation. | 2. Select the phone clip and open Inspector > Transform > Rotation Angle. |
| 3. At the start, click the stopwatch to set 0°. About 15 frames later, set Rotation to 90°. | 3. At the start, click the stopwatch to set 0°. About 15 frames later, set Rotation to 90°. | 3. At the start, click the keyframe diamond to set 0°. About 15 frames later, set Rotation Angle to 90°. |
| 4. Select both keyframes and press F9 for Easy Ease. | 4. Right-click each keyframe and choose Temporal Interpolation, then Ease Out on the first and Ease In on the second. | 4. Right-click each keyframe diamond and choose Ease In and Out. |
Questions people ask
Where can I get a rotate your phone animation for free?
The white outline Rotate Your Phone template on MotionVault is free with an account. Free stock clips exist too, but many have a black or green background that you have to remove with a blend mode or chroma key.
How do I add a rotate your phone animation in CapCut?
On desktop, place the clip on a track above your video. On mobile, tap Overlay, then Add overlay. If the clip has a black background, set Blend to Screen. You can also build one with two Rotate keyframes.
Do I need a rotate your phone animation for vertical videos?
No. Shorts, Reels and TikToks filmed in 9:16 already fill the phone screen. Use it only when your video is landscape.